

Today, we’re looking at how you can build your first web application in Go, so open up your IDEs and let’s get started.
Golang Web App Basic Setup
We’ll have to import net/http, and setup our main function with placeholders.
package main

import (
"fmt"
"net/http"
)

func main() {
	http.HandleFunc("/", indexPage)
        http.ListenAndServe(":8000", nil)
}
http.HandleFunc is a function that handles the paths in a url. For example http://www.golangdocs.com/2020/08/23.
- Here, the index page is linked to the homepage of our site.
- ListenAndServe listens to the port in the quotes, which is 8000. Once we run our web app, you can find it at localhost:8000.
Next, we need to configure the index page, so let’s create that:
func indexPage(w http.ResponseWriter, r *http.Request) {
	//do anything
}
Similar to if you’ve ever worked on Django, our function for index page takes input as a request to a url, and then responds with something. Replace the inside of the index_page function with anything of your choice (the w implies we want to write something), say,
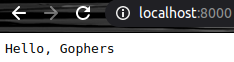
fmt.Fprintf(w,"Hello, Gophers.")
Save this file as “webApp.go”, and we can run the following command in the terminal:
go run webApp.go
The following page comes up at localhost:8000 –
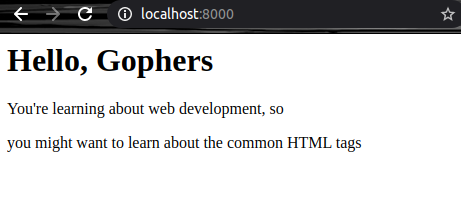
ResponseWriter Output HTML too
With Golang ResponseWriter, it is possible to directly format the text using HTML tags.
fmt.Fprintf(
        w,`<h1>Hello, Gophers</h1>
	<p>You're learning about web development, so</p>
	<p>you might want to learn about the common HTML tags</p>`
)
and that gives us the desired output:
This is still just one page, but say you wanted to make your site so that it will not return an error when you type localhost:8000/something_else.
Let’s code for that !
func indexPage(w http.ResponseWriter, r *http.Request) {
    fmt.Fprintf(w, "Welcome to a page about ", r.URL.Path[1:])
}
Output:
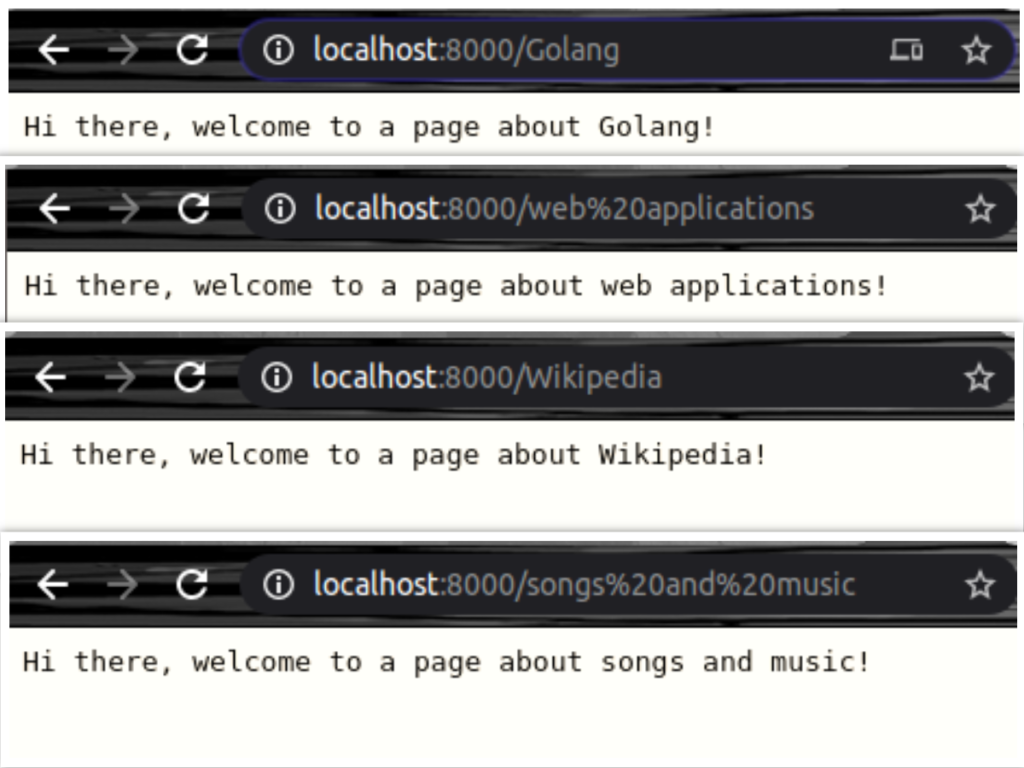
Voila !
Gorilla Mux for ease of web app development
Let me introduce you to a package named Gorilla Mux, which will make your web development much easier. So first, let’s install it using go get in the terminal.
go get github.com/gorilla/mux
We’ll do a few changes to our above code and use gorilla mux router instance instead of our indexHandler:
package main

import (
"net/http"
"github.com/gorilla/mux"
)

func main() {
        r := mux.NewRouter()
	r.HandleFunc("/", indexPage).Methods("GET")
        http.Handle("/",r)
        http.ListenAndServe(":8000", nil)
}
Golang web application HTML templates
The hard coded design is quite plain and unimpressive. There is a method to rectify that – HTML templates. So let’s create another folder called “templates”, which will contain all the page designs.
We’ll also add a new file here called “index.html”, and add something simple:
<html>
<body>
<h1>First line</h1>
<h3>Second line</h2>
</body>
</html>
Let’s switch back to our main .go file, and import our “html/template” package. Since our templates must be accessible from all handlers, let’s convert it to a global object:
var templates *template.Template
Now we need to tell golang to parse our index.html for the template design and instantiate into our templates object:
templates = template.Must(templates.ParseGlob("templates/*.html"))
Then modify the indexPage handler to contain:
templates.ExecuteTemplate(w,"index.html",nil)
And now if we run it, we’ll have exactly what we wanted.
Using Redis with Go web app
As a brief introduction to Redis, which we’ll be using as our database, they describe themselves best:
Redis is an open source (BSD licensed), in-memory data structure store, used as a database, cache and message broker. It supports data structures such as strings, hashes, lists, sets, sorted sets with range queries, bitmaps, hyperloglogs, geospatial indexes with radius queries and streams.
https://redis.io/
So first download and install Redis: https://redis.io/download
Import the go-redis package and declare a global object:
import ("github.com/go-redis/redis")
...
var client *redis.Client
Instantiate the redis client in main function:
client = redis.NewClient(&redis.Options{
    Addr: "localhost:6379" //this is the default redis port.
})
and we need to grab some data from the redis server:
func indexPage(...){
    comments,err := LRange("comments",0,20).Result()
    if err!=nil{
         return
    }
    templates.ExecuteTemplate(w,"index.html",comments)
}
and then render into the index.html file:
<html>
<head>
<title>
Comments
</title>
</head>
<body>
<h1>Comments</h1>
{{ range . }}
<div>{{ . }}</div>
{{ end }}
</body>
</html>
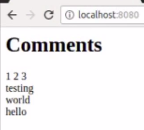
We’re done configuring our html, which will take the elements from the comments array in our redis client, and place them in our web app.
So now we can open our command line and type in redis-cli to enter the redis shell, where we can push comments into the empty array:
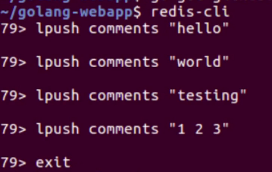
Then if we run our app, you can see that it is now fetching the comments from the server. It would be able to do the same for, say, an AWS server.
Ending Notes
Making a web application can take anywhere from a few days to a few months depending on the complexity of the application. For every button or functionality, there is help in the official Golang documentation, so definitely check that out.