
Golang or go in short is an open-source systems programming language. Its syntax is similar to that of the C programming language and comes with memory safety and garbage collection. It’s really simple to install go. So, let’s get started.
Prerequisites for Golang
We need a version control software to manage go projects. Here we will use git.
Installing git
So, let’s first install git. If you have already installed git, you can skip this step.
1. Download git installer
- Go to git-scm.com and click on downloads.
- Select your platform. Here we are using windows.
- The download will start.
2. Install git on Windows
After download, launch the .exe file.
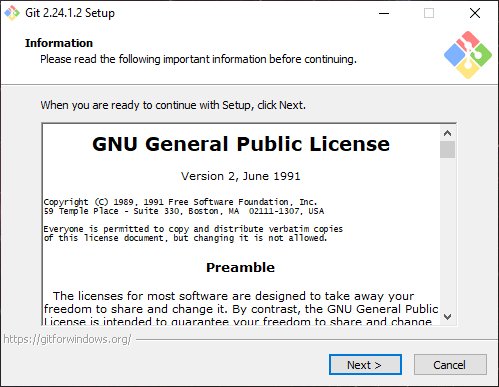
The installation wizard will show up and license will be shown. Click next.
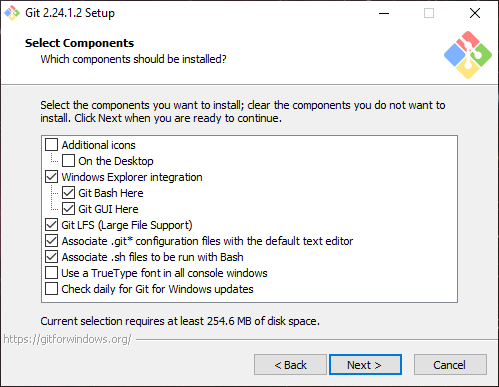
Here you have to select the components to install. Keep this as it is if you are a beginner and click next.
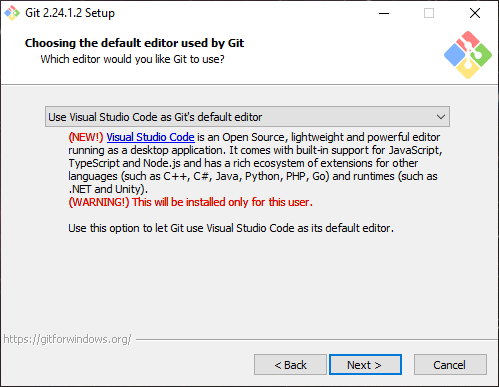
Now you will have to select the text editor of your choice. Here I have Visual Studio Code already installed so it is selected by default.
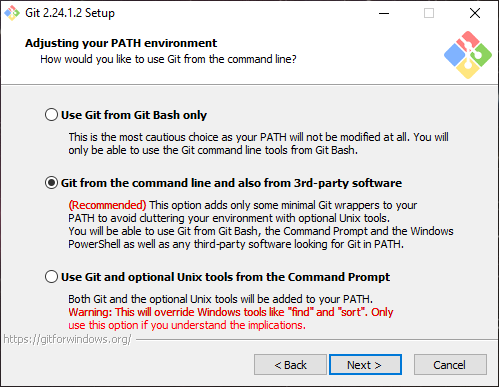
Now you will have to select how you will use git from the command line. Select the first option if you are beginning. If you select the second option, you will be able to use git from any command-line software like CMD, Powershell to name a few. Click next after you have selected the option accordingly.
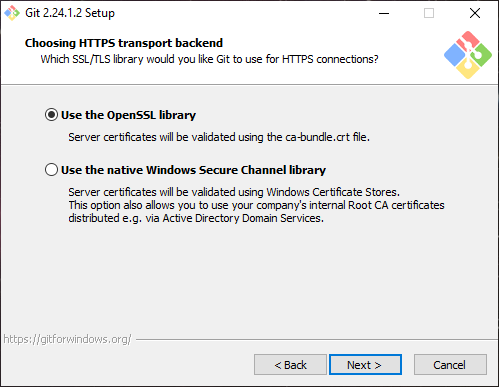
In the next prompt, you have to select the https library that will be used when creating https connections using git. OpenSSL library is selected by default. Keep it as it is. Click next.
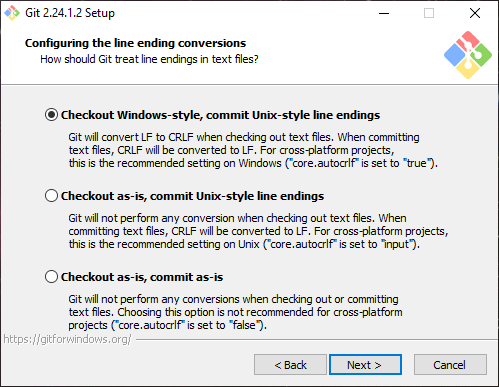
Here we select line ending options. The default option will suffice. Click next.
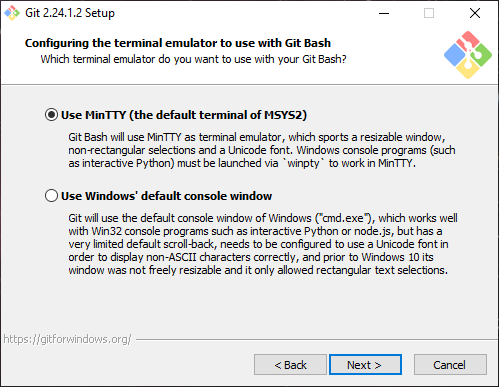
Now select the terminal emulator that will be used. MinTTY is selected by default. Click next.
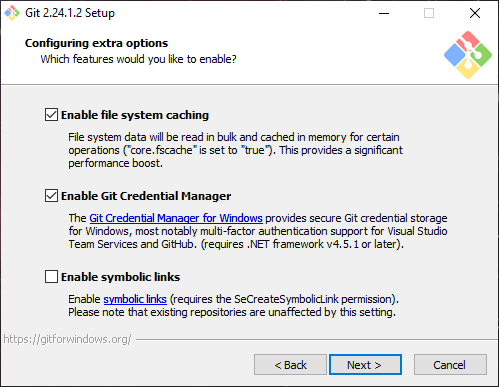
Then the extra options are shown. Just click next and keep it as it is.
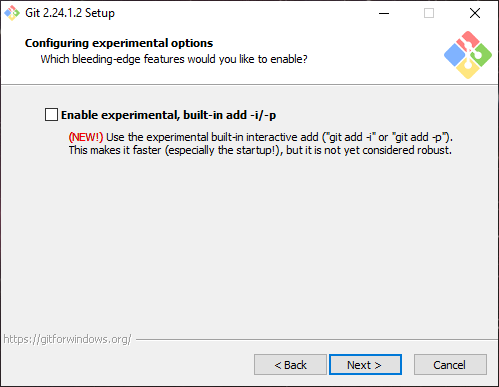
Experimental options are not selected by default. You can simply move forward and click next.
It will install git on your Windows.
After the installation has ended, click finish. Congratulations! You have successfully installed git.
Next, we set up a git user.
3. Set up git user
After installing git you have to set up a user. This step is very easy. First, launch git bash from the start menu or desktop icon.
Note that, in order to set up the user you need to be inside a git directory.
If you don’t know what a git directory is don’t worry. Just create an empty directory. Then run the command below from inside it.
git init
You will notice (master) is written in that git-sample-directory I created. That means it is a git directory.
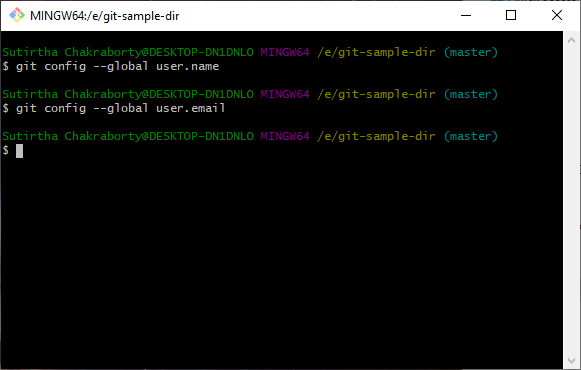
In the image shown above, you can see the user is not set. So, let’s set the git user.
The commands to set up user are:
git config --global user.name "your username"
git config --global user.email "your email"
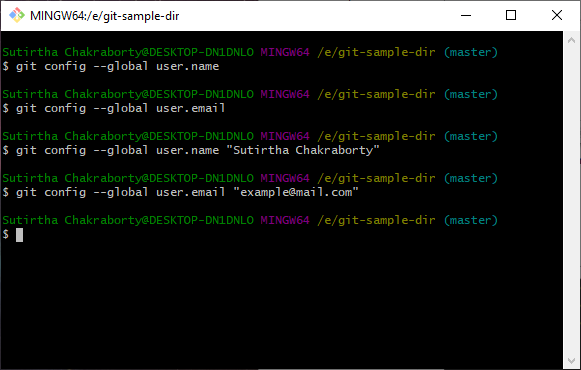
Done! You have successfully set yourself up as a git user.
Installing Golang
Let’s start installing Golang on Windows.
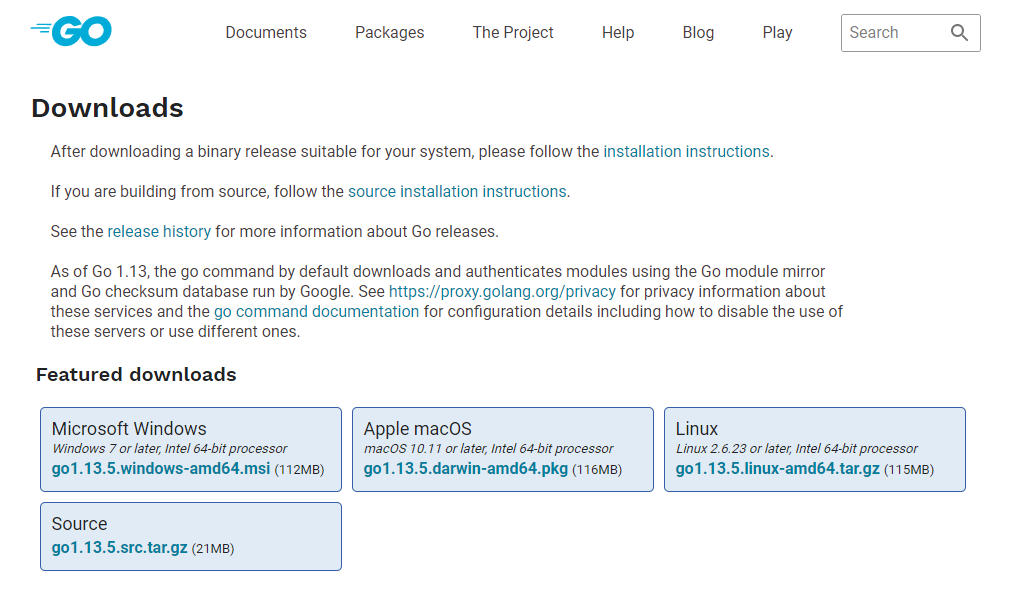
1. Download go for Windows
First, go to https://go.dev/ and click on “Download Go“. It will lead to the download page. There you will have to select the msi installer for windows.
2. Install go from .msi file
After launching the installer (.msi file) the installer will begin. Click next.

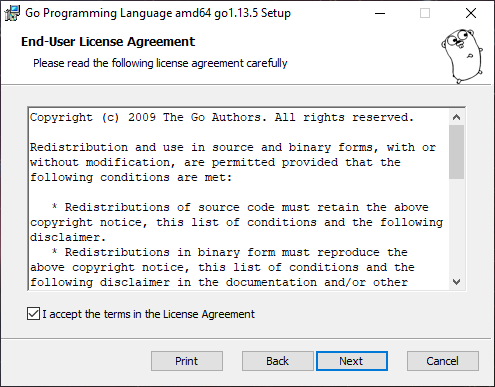
First, accept the license agreement. Then click next.
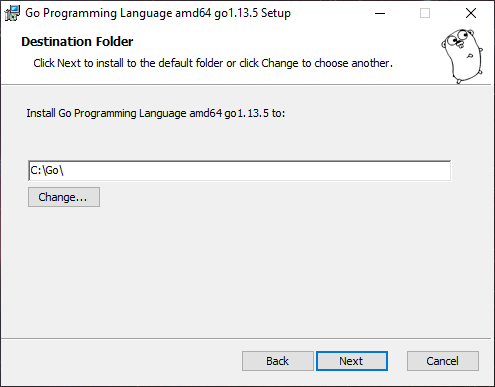
The destination is already set to a value. If you would like to change it, just click change. But keeping it to default value is just fine.
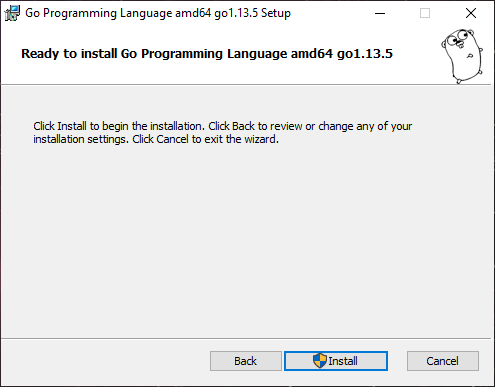
Click Install to begin the installation. Windows will ask for administrator permission. Just accept it.
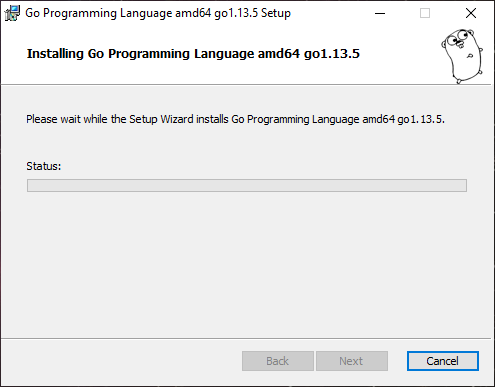
The installation has begun.
After it has completed installing, click Finish to complete the setup.

Golang has been installed successfully. Now we need to check if it has been set up properly. We can check that from the command prompt or any other terminal. Here we will use CMD.
3. Check Golang version installed
Enter the command below to check installed Golang version:
go version

4. Check if GOPATH is set up properly
Now we need to check if GOPATH is set up properly.
To check that open Control Panel. Then go to System and Security and click on System.
A window will open as shown below.
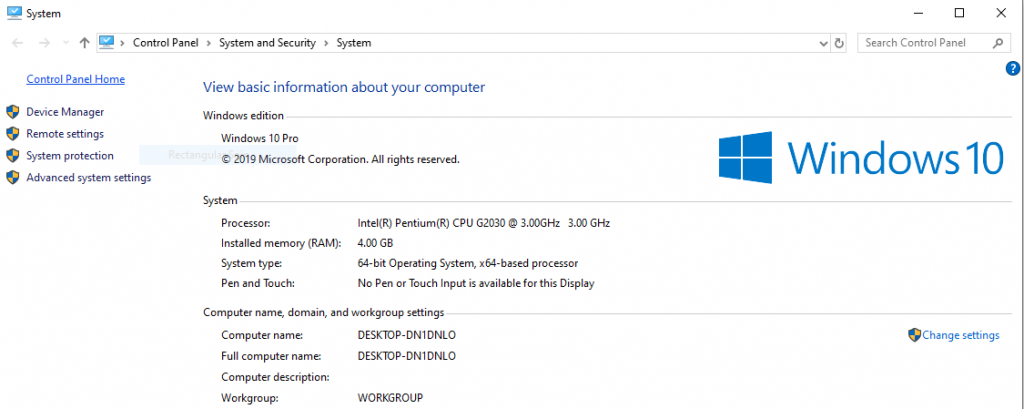
Open Advanced System Settings from left sidebar.
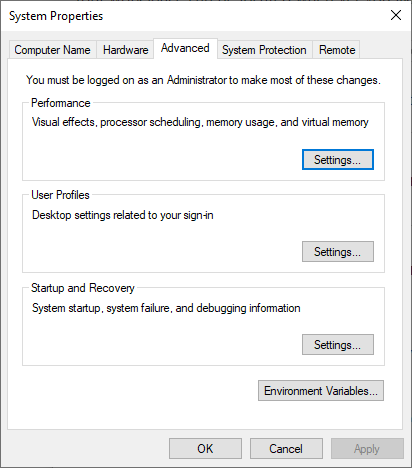
Click on Environment Variables.
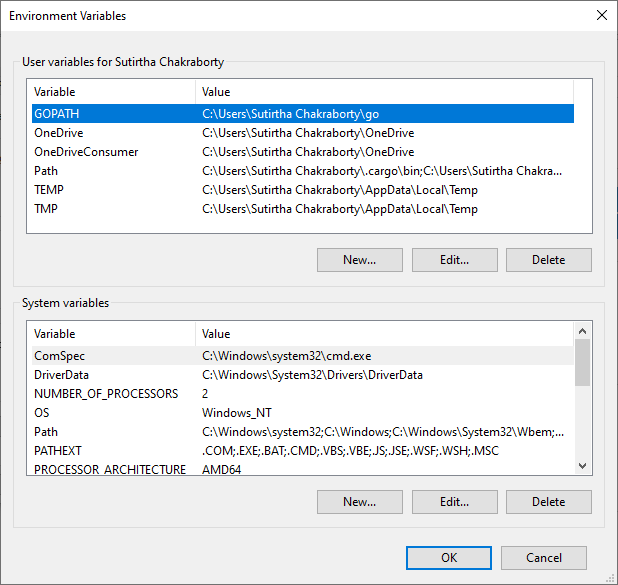
Check if GOPATH is set. Here in the image above GOPATH is set to %USERPROFILE%\go.
You can set it to any folder you prefer.
To change GOPATH just click Edit and then either write the path or browse the folder.
Congratulations! You have installed go in your Windows successfully.